Modders continue to grow daily, adding useful mods to make Cyberpunk 2077 even better by enhancing not only the visuals but also the quality of the game. However, today with this guide, we will explain to you about one of those fantastic mods. Yes, we are talking about Cyberpunk 2077 Real Vendors Name Mod. You will get to know the steps to install Cyberpunk 2077 Real Vendors Name Mod. So, let’s get started with the guide.
Steps to Install The Cyberpunk 2077 Real Vendors Name Mod
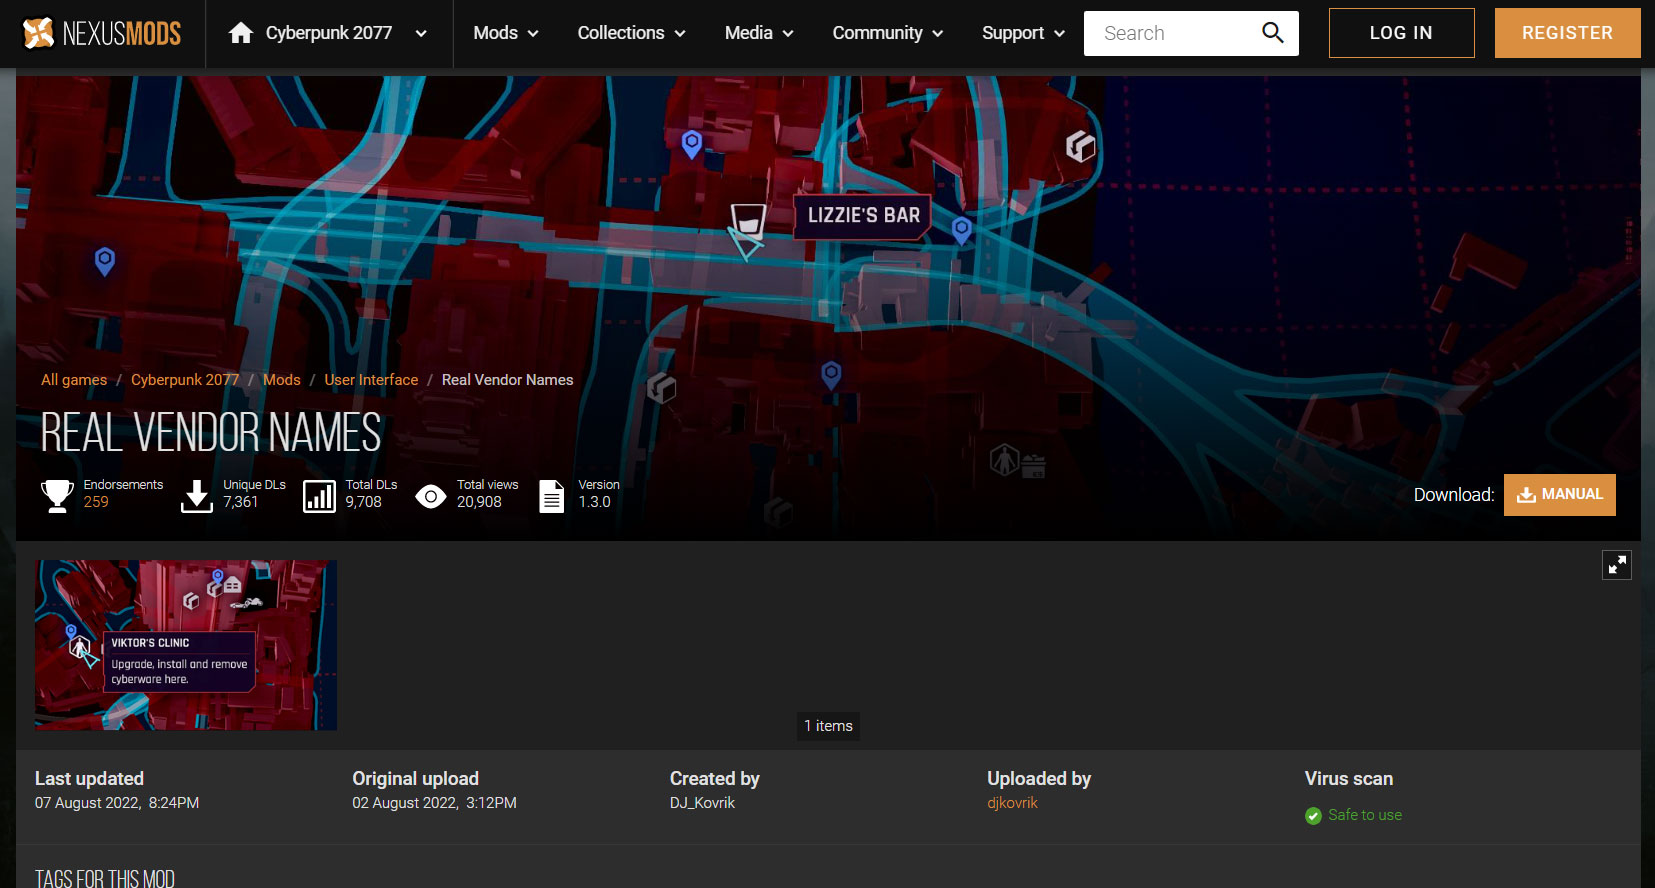
Although Cyberpunk 2077 has lots of vendors, names have additional interaction. A bit of work is involved in remembering where specific vendors are on the map, and the game defaults to displaying generic vendor labels. NexusMods’ DJ_Kovrik has created something to deal with this issue. However, besides that, they have an abundance of other valuable mods for the game to improve its quality of life. So, in case you want to know how to install the Cyberpunk 2077 real vendor name mod, then these steps will help you:
How To Remove The Installed Real Vendors Name Mod?
So, as we have already mentioned, how to install Cyberpunk 2077 real vendors mod on your device, but what if you don’t like the features that this mod offers? Well, don’t worry! You can simply delete it if you do not want the changes it offers, and to do so, the realVendorNames.reds file is located in the following location: For more updates, keep checking the mod page. Perhaps there are a few bugs, or some names are missing. If you’ve any thoughts on How to Install The Cyberpunk 2077 Real Vendors Name Mod?, then feel free to drop in below comment box. Also, please subscribe to our DigitBin YouTube channel for videos tutorials. Cheers!